
Viewing Transfers PRO
View and track all Stripe transfers Split Pay has created, including order references, amounts, and Stripe Dashboard links.
Overview#
The Transfers tab in Split Pay gives you a centralized view of every transfer the plugin has created. You can see which orders triggered transfers, how much was sent, which connected accounts received funds, and direct links to the corresponding Stripe transfer objects.
The Transfers tab is a PRO feature. Free version users can view transfers directly in the Stripe Dashboard.
The transfers tab#
Navigate to Split Pay → Transfers (top-level menu, added in 3.7.0) to access the transfers list. Each row in the table displays:
| Column | Description |
|---|---|
| Order ID | The originating WooCommerce or FluentCart order, linked to that platform’s order screen when available. |
| Date | The recorded Stripe charge date; recovered legacy rows may show the reconstruction date and a recovered marker. |
| Source | WooCommerce or FluentCart. |
| Item | Subtotal, Shipping, or Product extras. |
| Level | Global, Product, or Variable. |
| Value | The percentage or fixed value entered for the rule. |
| Variable | Whether that entered value was a Percentage or Fixed amount. |
| Item Total | The eligible item or pool amount recorded for the calculation. |
| Item Transfer Amount | The transfer amount before any recorded transferred tax. |
| Item Tax | The tax recorded for the item or pool. |
| Tax Transfer Type | All, Partial, or not applicable for that row. |
| Tax Transfer Amount | The tax included in the transfer. |
| Total Transfer Amount | The amount sent in the charge’s recorded settlement currency, including transferred tax. |
| Connected Account | The destination acct_..., linked to the connected account in Stripe. |
| Stripe Transfer ID | The tr_... reference, linked to the transfer in Stripe. |
| Stripe Charge ID | The source charge reference, linked to the payment in Stripe when available. |
Transfer types#
Each row in the Transfers tab includes an Item column that describes the type of transfer. The possible types are:
- Subtotal — Global or product-level percentage/fixed amount transfers on the order subtotal.
- Shipping — Global or product-level shipping fee transfers.
- Product extras — Transfers created by the Product Add-Ons Ultimate integration, where each priced add-on field is transferred to its group's connected account.
Order notes#
In addition to the Transfers tab, every successful transfer is logged as an order note on the originating store order. Open any order in your store admin and scroll to the order notes / activity panel to see transfer details including the amount, connected account, and Stripe transfer ID:
- WooCommerce orders: Order Notes panel on the right of the order edit screen.
- FluentCart orders: the order’s activity / notes section in the FluentCart order detail UI.
Viewing in the Stripe Dashboard#
You can also view transfers directly in Stripe:
Log in to your Stripe Dashboard.
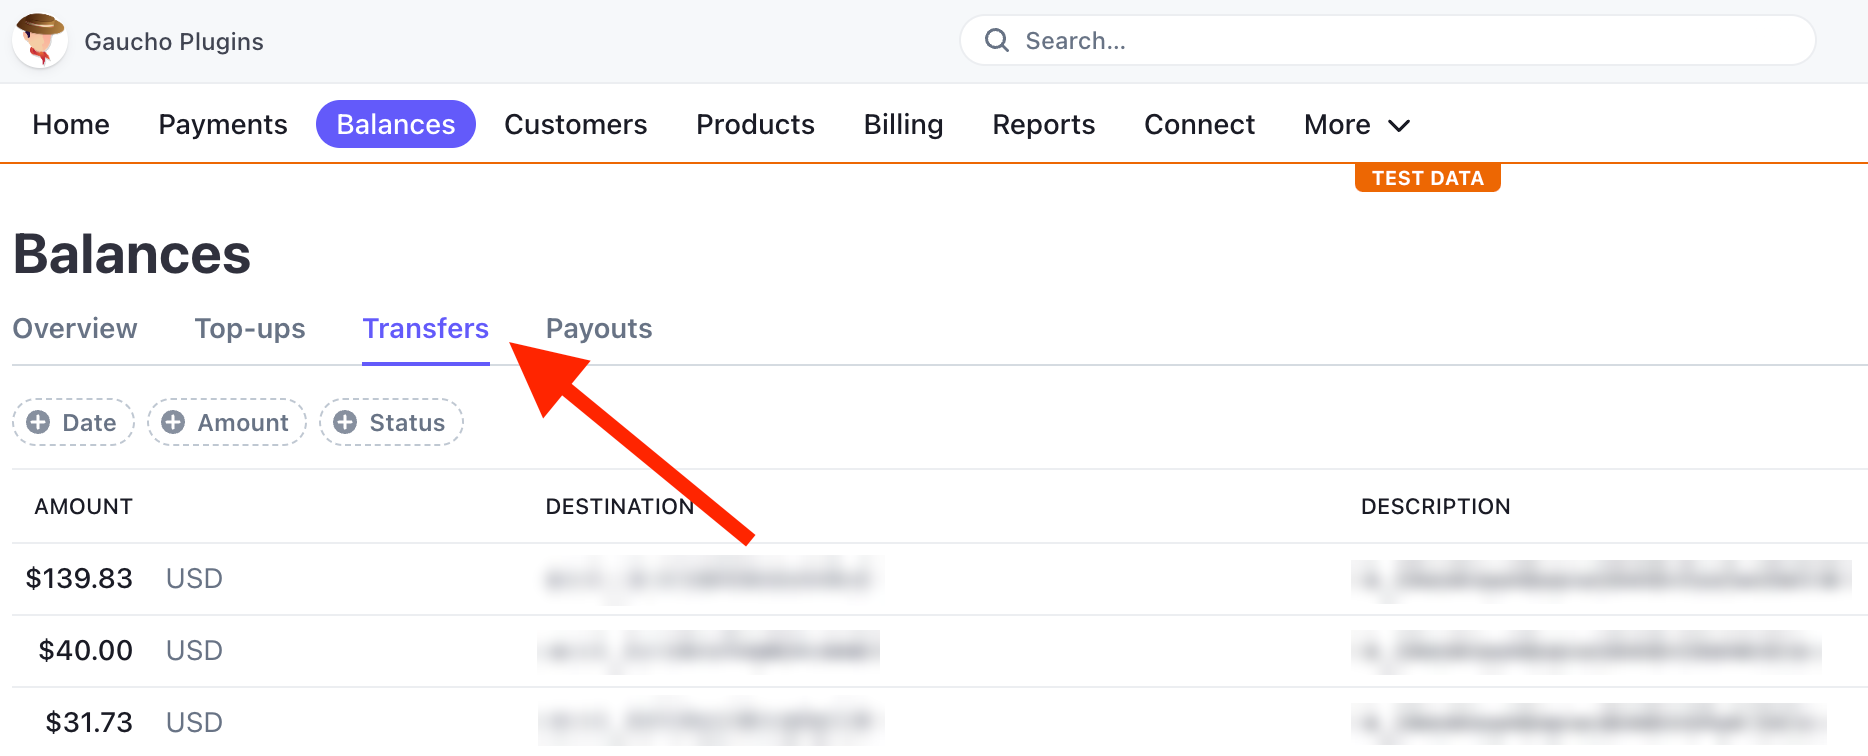
Navigate to Balances → Transfers (or search for a specific transfer ID).
Click on any transfer to see full details including the source charge, destination account, amount, and metadata.
Test vs. Live mode: Make sure you're viewing the correct mode in the Stripe Dashboard. Test transfers only appear when the dashboard is set to Test mode, and live transfers only appear in Live mode. Toggle the mode switch at the top of the Stripe Dashboard.
Failed transfers#
The Transfers table has no Status column. Use the originating order’s notes or activity for a failed attempt and its error message; then follow Retry Failed Transfers for the supported recovery path.
Common reasons for transfer failures:
- The connected account has not completed Stripe onboarding.
- The platform's Stripe balance is insufficient to cover the transfer.
- The connected account ID is invalid or belongs to a different platform.
- Stripe temporarily restricted transfers on the connected account.
If transfers are consistently failing, see the Troubleshooting guide for step-by-step debugging instructions.